

SvHCI / HPE ProLiant MicroServer Gen11 OEM Runbook
The following runbook was written for administrators wishing to deploy a new StorMagic SvHCI virtual infrastructure environment and create a highly available hyperconverged cluster using HPE ProLiant MicroServer Gen11 hardware.
SvHCI deployment overview.
Expected Server Configuration
Expected OEM server configuration.
With your purchase of SvHCI on HPE via OEM the servers will come with the SvHCI hypervisor preinstalled. The following runbook walks through the process of getting this setup and operational once the equipment has been received.
Prerequisites
- SvHCI licenses available.
- iLO license key available.
- 3x IP addresses for management:
- SvHCI1
- SvHCI2
- Witness
- Storage IP schema planned.
- Witness device topology plan.
- DNS A records recommended for hostname resolution.
HPE Hardware Delivery
- Verify all components are present and undamaged.
HPE MicroServer Gen11 hardware overview.

Additional MicroServer hardware view.
1.2 Installing Additional Hardware and Connecting Peripherals
- Install RAM, SSDs/HDDs, and additional NICs if required.
- Connect power cables.
- Attach a monitor, keyboard, and mouse if not using iLO.
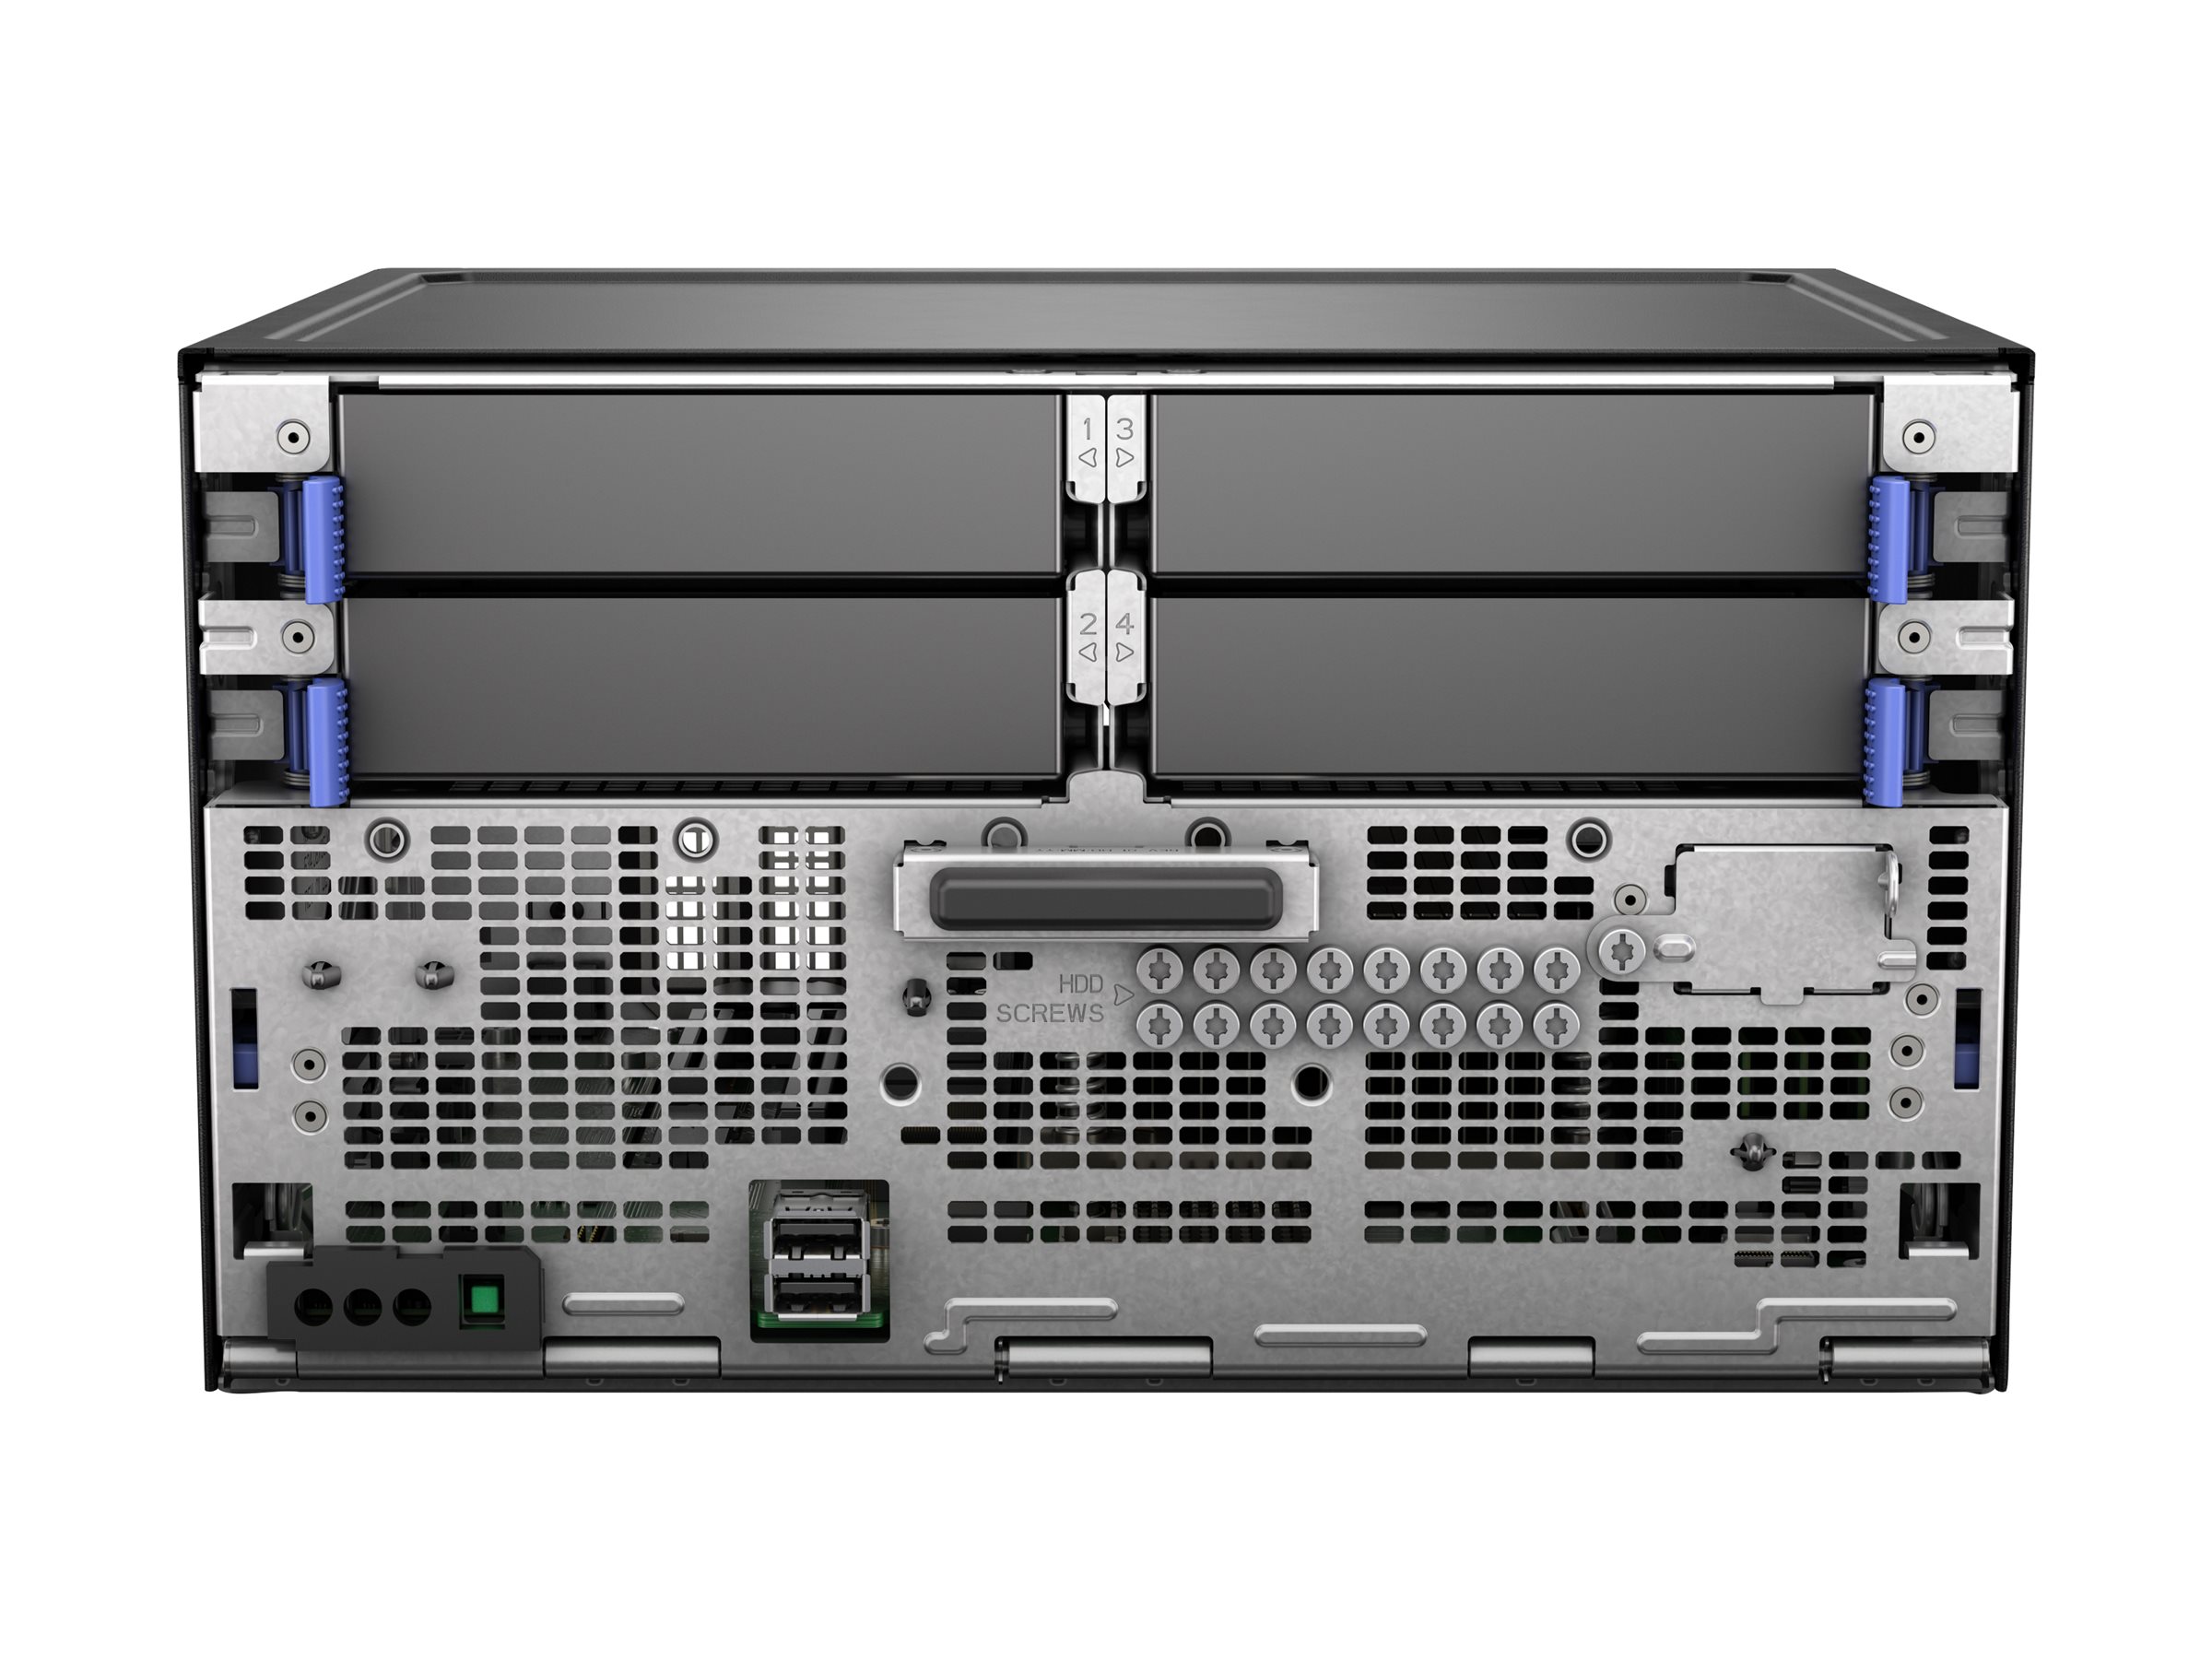
Rear connectivity and hardware layout.
Additional rear hardware layout.
StorMagic Networking Information
SvHCI presents synchronously mirrored block-based storage devices using RF2 replication for highly available virtual machine storage.
SvHCI utilizes three primary traffic types:
- Management traffic
- iSCSI storage traffic
- Mirror synchronization and live migration traffic
Administrators can define which interfaces are permitted for each traffic type and specify preferred interfaces for synchronization.
Direct attach networking can reduce switch dependency, free switch ports, and provide high speed synchronization connectivity without dedicated 10Gb switching infrastructure.
2.2 Recommended Network Adapters
- Broadcom BCM5719 1Gb Quad Port Base-T NIC
- Broadcom BCM57414 10Gb/25Gb SFP28
Recommended networking topology.
Configuring Initial iLO Access
Configure the iLO management interface to allow remote browser-based administration and remote ISO mounting.
- Default iLO IP: 192.168.0.120
- Default Username: Administrator
- Password located on chassis label
Initial iLO configuration.
Dedicated iLO networking configuration.
3.2 Applying an iLO Advanced License
- Navigate to Administrator → Licensing.
- Apply the iLO Advanced license key.
- Validate remote console functionality.
Applying iLO Advanced licensing.
3.3 Firmware and BIOS Updates
StorMagic recommends updating BIOS, firmware, drivers, and iLO using the latest HPE Service Pack for ProLiant (SPP) before production deployment.
- Mount the HPE SPP ISO using iLO virtual media.
- Boot the server from the mounted ISO.
- Select Automatic Firmware Update.
- Allow the system to reboot as required.
System utilities and firmware update access.
First-Boot Configuration
- Login to the SvHCI web interface.
- Username: admin
- Password: password
Initial SvHCI login.
- Accept the licensing agreement.
Accepting the licensing agreement.
Setup wizard overview.
4.2 Applying SvHCI Licensing
- Apply the SvHCI license key.
- Validate online or offline licensing activation.
Applying SvHCI licensing.
Reviewing license information.
4.3 Hostname and Password Configuration
- Configure hostname and domain.
- Create a secure administrator password.
- Re-login using the updated credentials.
Hostname and domain configuration.
Administrator password configuration.
Completed first login configuration.
4.4 SvHCI Networking
Initial networking dashboard.
Management networking configuration.
- Create a VM Port Group.
- Apply VLAN tagging if required.
- Create dedicated SAN vSwitches for synchronization traffic.
VM networking and VLAN configuration.
Creating SAN networking.
Creating synchronization interfaces.
Completed networking configuration.
4.5 Storage Pool Configuration
- Review the automatically created storage pools.
- Rename the shared storage pool.
- Validate local and shared storage visibility.
Initial storage pool configuration.
Renaming the shared storage pool.
Completed storage pool configuration.
4.6 SvHCI Witness Installation
To provide full data integrity in mirrored environments, StorMagic recommends deployment of a witness service.
The witness service acts as a third-party arbitration mechanism between mirrored nodes and should be deployed outside the HA cluster.
SvHCI Cluster Creation
Once both nodes and the witness service are operational, create the SvHCI cluster using the Discovery tab.
- Navigate to the Discovery tab.
- Select Join.
- Select the second SvHCI node.
- Select the witness service.
- Apply the cluster configuration.
Discovery tab and cluster view.
Selecting nodes and witness service.
Cluster join process.
Completed SvHCI cluster.
Post Deployment Validation
- Verify iLO accessibility.
- Verify SvHCI management accessibility.
- Validate VM networking connectivity.
- Run ping and traceroute diagnostics.
Ping diagnostics.
Traceroute diagnostics.
6.2 Network Performance Validation
Network speed test server configuration.
Network speed test client configuration.
Network speed test results.
Network IO path test configuration.
Network IO path test results.
6.3 Storage and VM Validation
- Upload ISO images.
- Create Windows guest virtual machines.
- Create Linux guest virtual machines.
- Validate shared storage accessibility.
Validating Built for Redundancy and Uptime
Following deployment, validate high availability functionality and ensure the environment operates correctly during failure scenarios.
- Verify HA failover functionality.
- Review synchronization status.
- Validate witness service connectivity.
- Review target statistics and performance.
Target statistics view.
Cluster health validation.
Firmware upgrade locations.
SvHCI firmware management.
Additional Information
- SvHCI Cluster Creation
- SvHCI Non-Disruptive Upgrade Guide
- SvHCI Evaluators Guide
- SvHCI Installation Video
Comments
0 comments
Article is closed for comments.